Cart (0)
Close
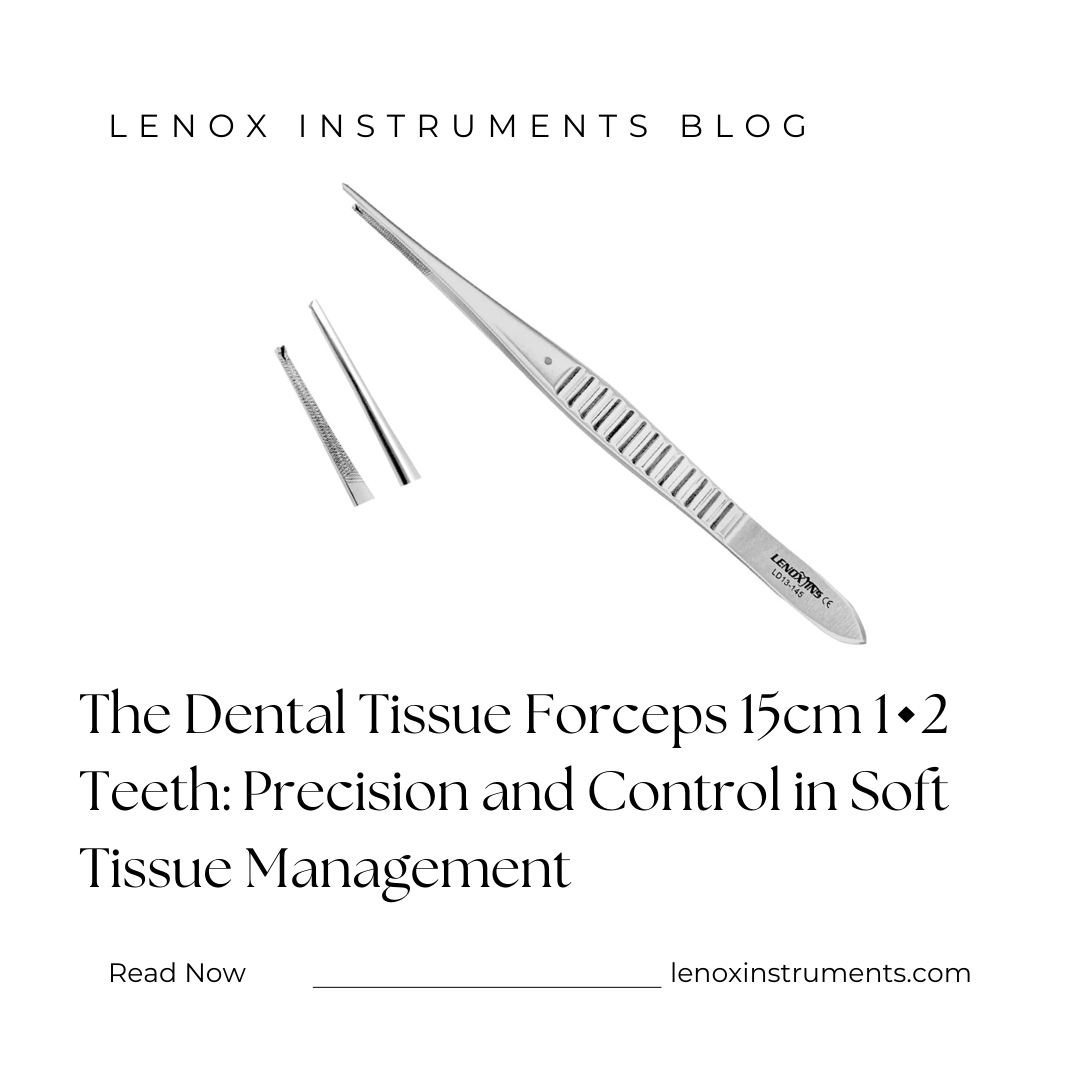
The Dental Tissue Forceps 15cm 1×2 Teeth from Lenox Instruments: Precision and Control in Soft Tissue Management
Dental Forceps
-
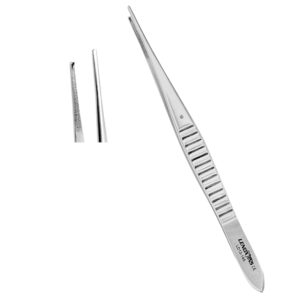
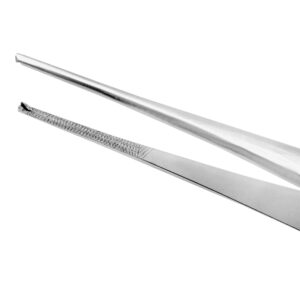
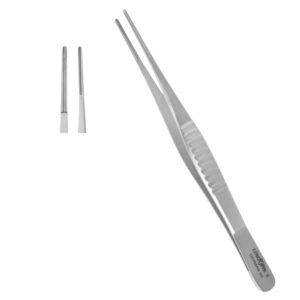
Debakey Atraumatic Tissue Forceps Str 16cm – Precision Surgical Instrument
CA$60Explore the Debakey Atraumatic Tissue Forceps Str 16cm by Lenox Instruments, crafted with atraumatic serrated tips for precision in delicate tissue handling. Trusted by surgical professionals in Canada, USA, UK, Australia, and Europe. -
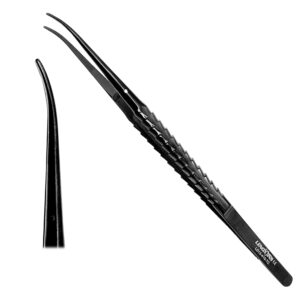
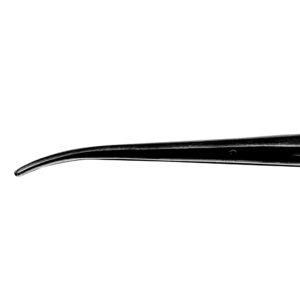
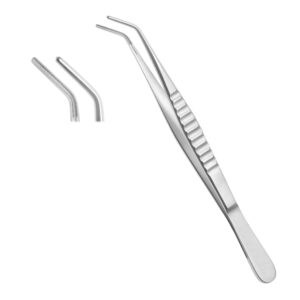
Debakey Atraumatic Tissue Forceps Cvd 16cm – Precision Surgical Instrument
CA$60Explore the Debakey Atraumatic Tissue Forceps Cvd 16cm by Lenox Instruments, crafted with atraumatic serrated tips for precision in delicate tissue handling. Trusted by surgical professionals in Canada, USA, UK, Australia, and Europe. -
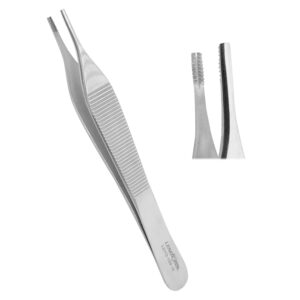
Dental Tissue Forceps Adson Brown 12cm – Precision Surgical Instrument
CA$25Explore the Dental Tissue Forceps Adson Brown 12cm by Lenox Instruments, crafted with serrated tips for precision in tissue handling. Trusted by surgical professionals in Canada, USA, UK, Australia, and Europe. -
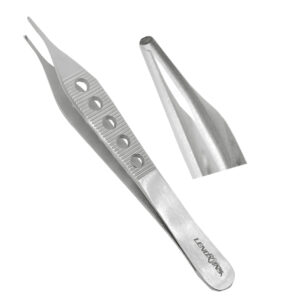
Adson Tissue Forceps 12cm 1×2 Teeth Ergonomic Handle – Precision Dental Surgical Instrument
CA$25Explore the Adson Tissue Forceps 12cm 1x2 Teeth Ergonomic Handle by Lenox Instruments, crafted from surgical stainless steel for precision in tissue handling. Trusted by dental professionals in Canada, USA, UK, Australia, and Europe.
Tissue Forcep By Lenox
-
Tissue Forceps Russian Pattern 20cm Premium German Stainless Steel – Precision Surgical Instrument
CA$50Explore the Tissue Forceps Russian Pattern 20cm Premium German Stainless Steel by Lenox Instruments, crafted with circular serrated tips for precision in tissue handling. Trusted by surgical professionals in Canada, USA, UK, Australia, and Europe. -
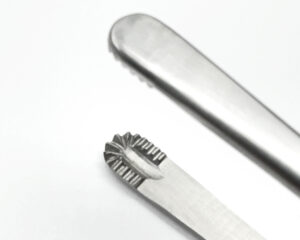
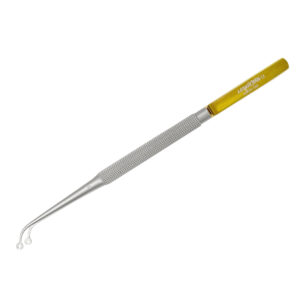
PRF Tissue Forceps – Precision Dental Surgical Instrument
CA$40Explore the PRF Tissue Forceps by Lenox Instruments, crafted with fine toothed tips for precision in handling PRF membranes. Trusted by dental professionals in Canada, USA, UK, Australia, and Europe. -
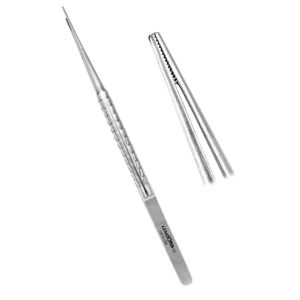
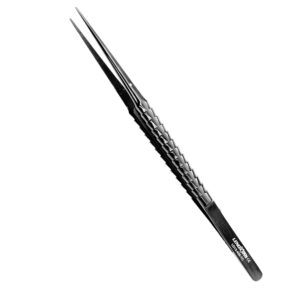
Micro Tissue Forceps, 17cm – Diamond Dust Coated – Precision Surgical Instrument
CA$90Explore the Micro Tissue Forceps, 17cm - Diamond Dust Coated by Lenox Instruments, crafted with diamond dust-coated tips for precision in micro-surgical procedures. Trusted by surgical professionals in Canada, USA, UK, Australia, and Europe. -
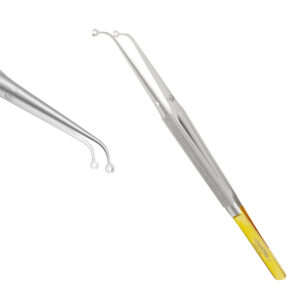
Corn Suture Forceps 17cm Diamond Dust Coated – Precision Surgical Instrument
CA$90Explore the Corn Suture Forceps 17cm Diamond Dust Coated by Lenox Instruments, crafted with diamond dust-coated tips for precision in suture handling. Trusted by surgical professionals in Canada, USA, UK, Australia, and Europe. -
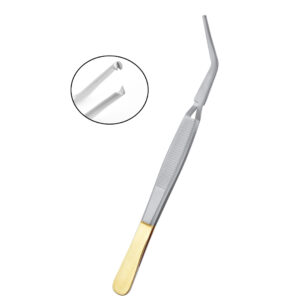
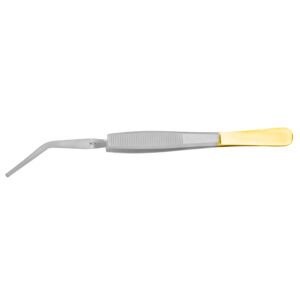
Cooley Tissue Forceps 18cm EGR Handle – Precision Surgical Instrument
CA$80Explore the Cooley Tissue Forceps 18cm EGR Handle by Lenox Instruments, crafted with an ergonomic handle for precision in tissue handling. Trusted by surgical professionals in Canada, USA, UK, Australia, and Europe. -
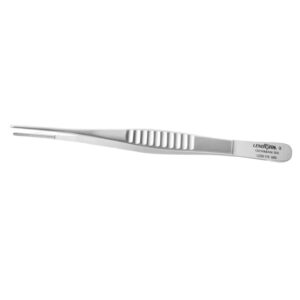
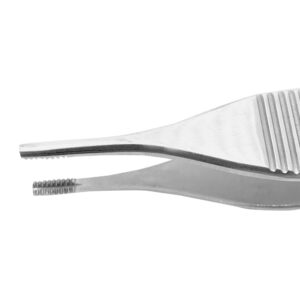
Tissue Forceps 15cm – Precision Surgical Instrument
CA$30Explore the Tissue Forceps 15cm by Lenox Instruments, crafted with finely serrated tips for precision in tissue handling. Trusted by surgical professionals in Canada, USA, UK, Australia, and Europe. -
Micro Surgical Forceps Tweezers TC 17cm Curved – Precision Surgical Instrument
CA$90Explore the Micro Surgical Forceps Tweezers TC 17cm Curved by Lenox Instruments, crafted with tungsten carbide tips for precision in micro-surgical procedures. Trusted by surgical professionals in Canada, USA, UK, Australia, and Europe. -
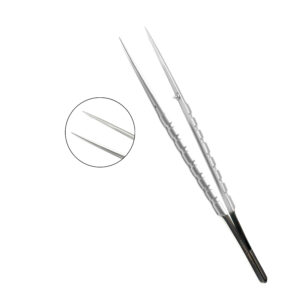
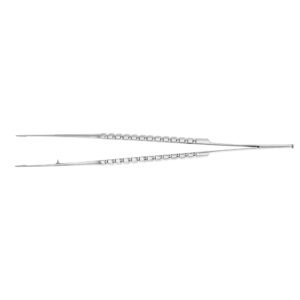
Micro Surgical Forceps 17cm Straight – Precision Surgical Instrument
CA$90Explore the Micro Surgical Forceps 17cm Straight by Lenox Instruments, crafted with finely serrated tips for precision in micro-surgical procedures. Trusted by surgical professionals in Canada, USA, UK, Australia, and Europe.